Welcome to our step-by-step guide on creating your very own Google Maps scraper! In today’s fast-paced digital world, having a reliable source of leads is crucial for any business. Whether you’re reaching out via email or phone, this tool will be invaluable. Plus, we’ve included a comprehensive video tutorial to make the process even easier. Follow along, and you’ll have your scraper set up in no time!
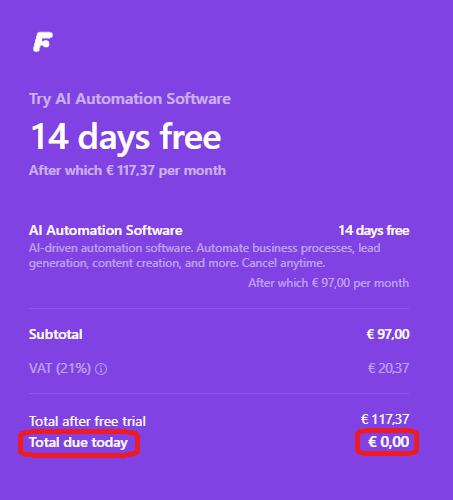
Start by visiting flowzy.ai and creating a new account, or log in if you already have one. Note: During registration, you can try all flowzy automations free for 14 days. Just verify your account with a payment method—don’t worry, you won’t be charged.
Once registered and logged in, click on “Build Flow.”
Select the “Google Maps Scraper Part 1” template.
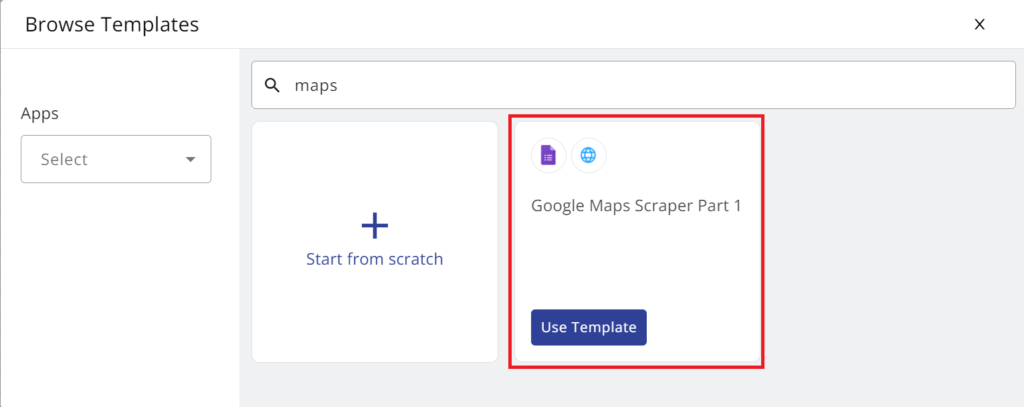
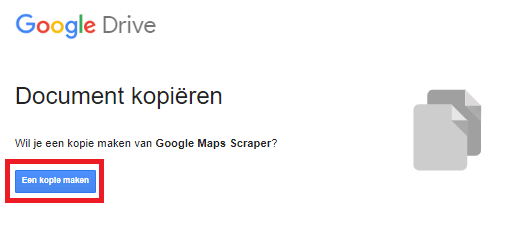
After clicking “Use Template,” you’ll see the template. First, create a form with Google Forms for sending data requests, like searching for “hairdressers in Ghent.” Go to Google Forms, make a copy, but don’t change anything.
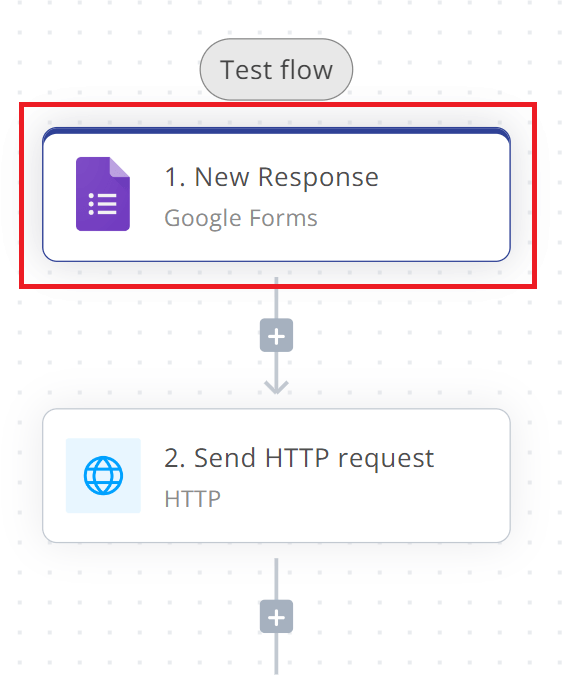
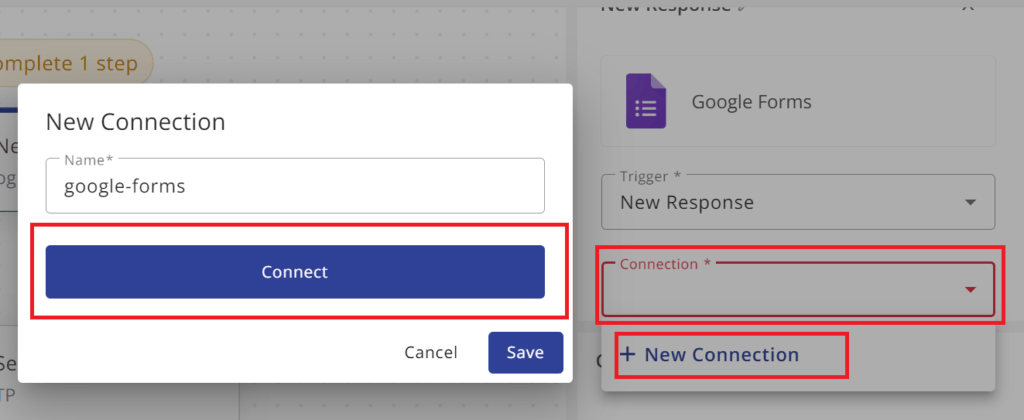
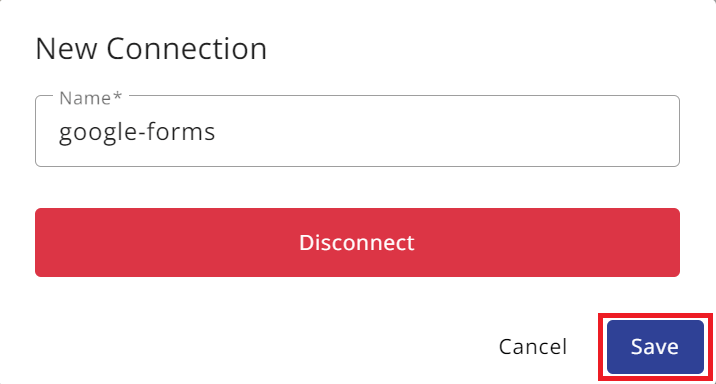
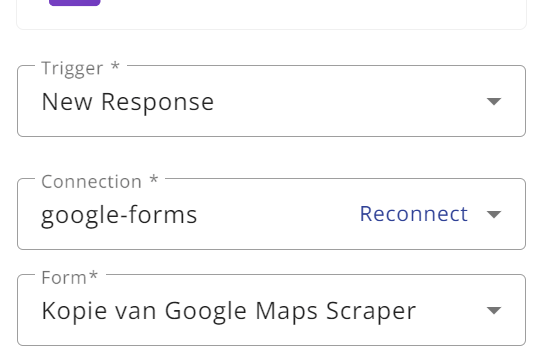
Return to the flowzy template and click on “1. New Response Google Forms.” Add a connection by clicking “new connection,” link your account, and save..
Once this is done, you can scroll down a bit in the top-right window and indicate the correct form. Copy Google Maps Scraper.
Now that we’ve successfully connected the Google form to the software, let’s activate the scraper.
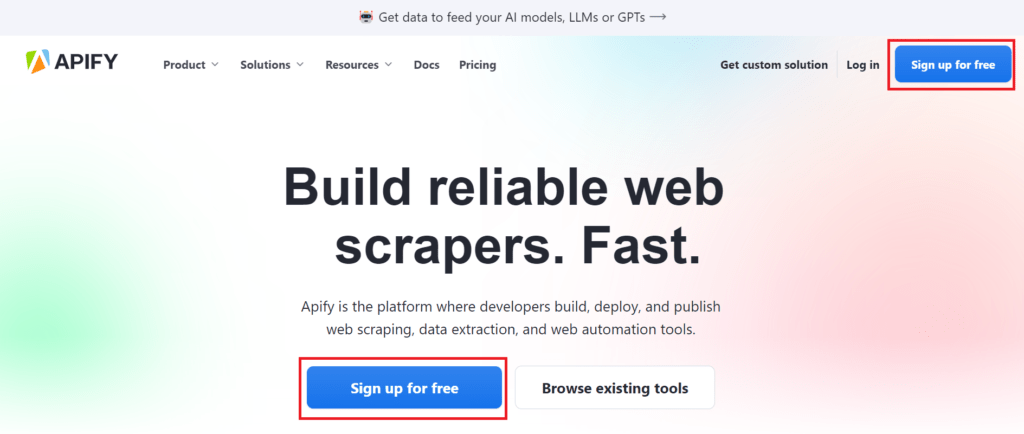
Go to Apify and create a new account.
After entering your details and choosing a username, you’ll be asked: Which programming languages are you comfortable with? Select TypeScript and press Continue.

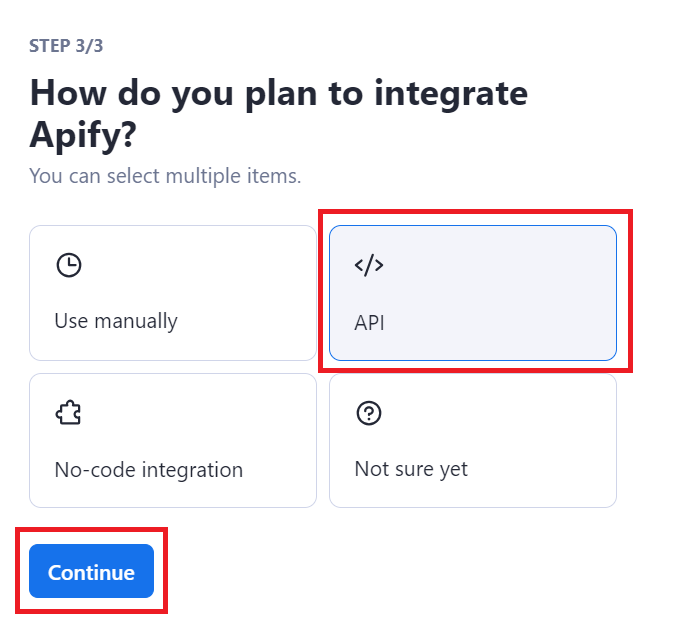
Choose API
After you press Continue, your setup is finished. A screen will pop up; you can close it and go to settings – Integrations. Here, you can find your API key.
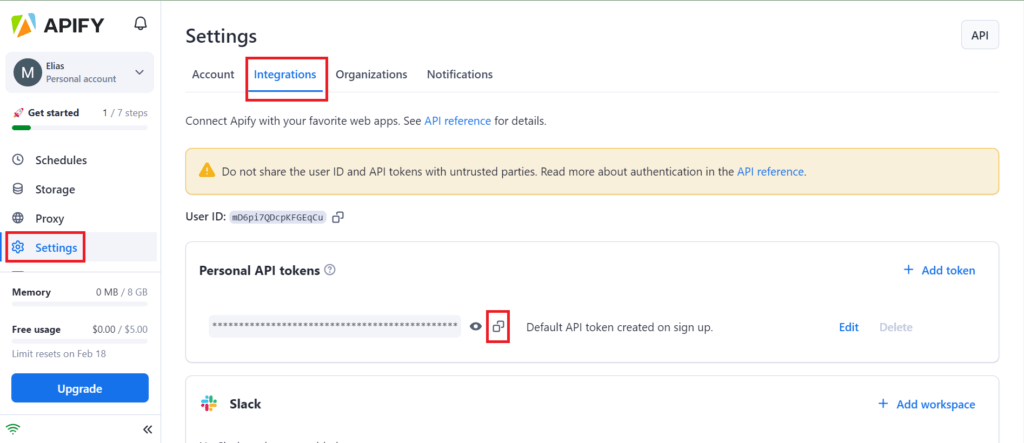
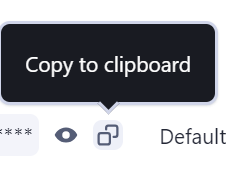
Once you’ve copied your API key, go back to the flow on flowzy.
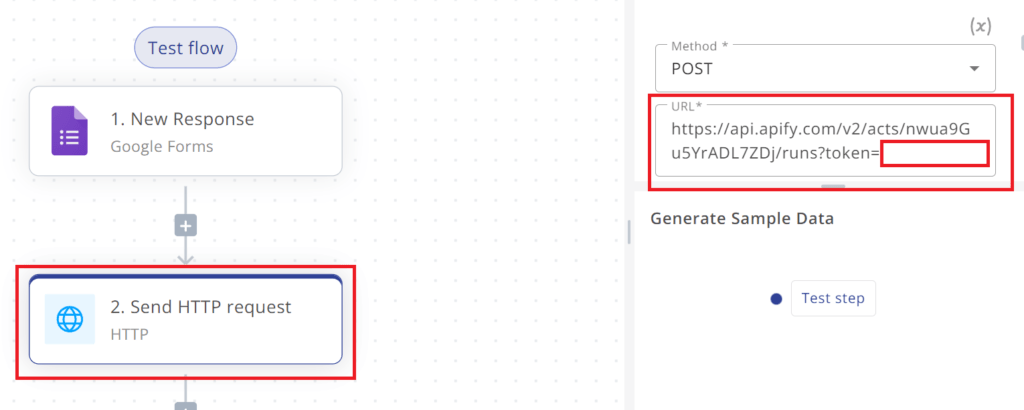
Now, click on ‘send HTTP request’ and in the URL after Token=, paste the API token you just copied.
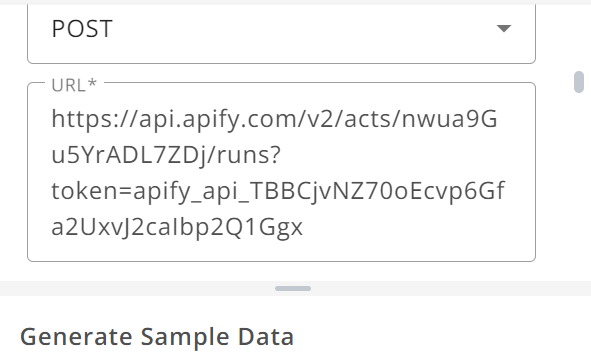
The result will look like this, but of course with your unique token:
After you have done this, you should publish the flow.

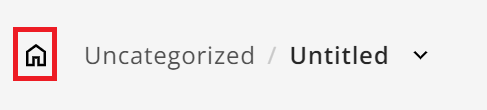
This flow is ready; now you can press the house icon at the top right, and we will set up Part 2.
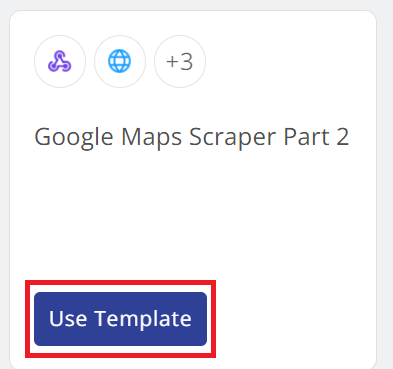
Now, just like before, we will create a new flow, but this time choose the template “Google Maps Scraper Part 2.”
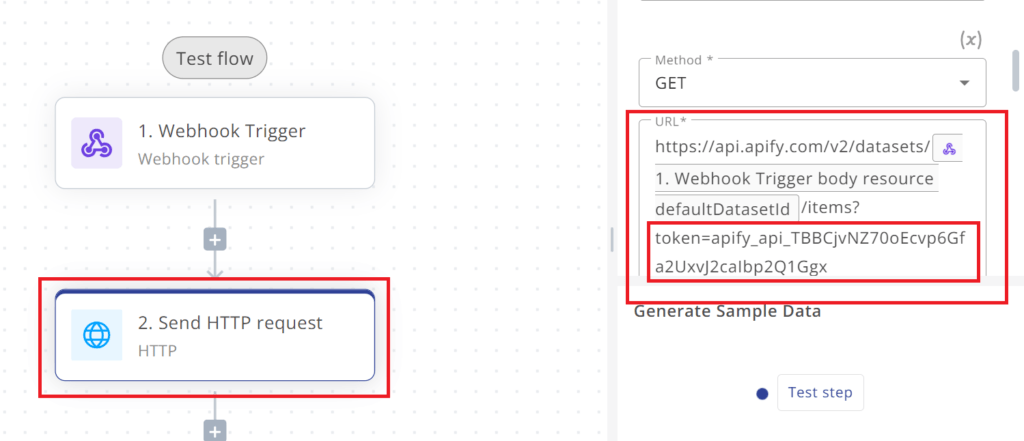
Once you are in the flow, we need to add our API key at STEP 2 and STEP 5 as well; if you still have it copied, you can paste it after token=.
It should look like this:
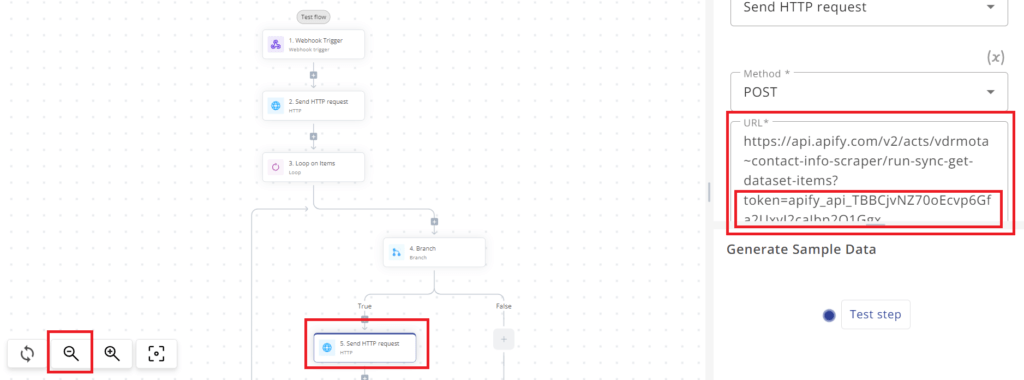
This is, of course, with your unique code, and for STEP 5, you can zoom out or scroll down to find STEP 5:
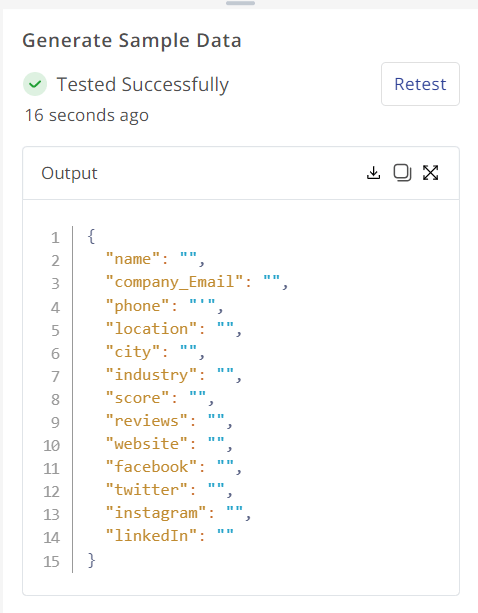
Now we will load the variables to insert into the Google sheet in the flow; press STEP 6 Outputs Google Sheet and in the bottom left, you can do a Test step. Do this, and it will initialize the variables.
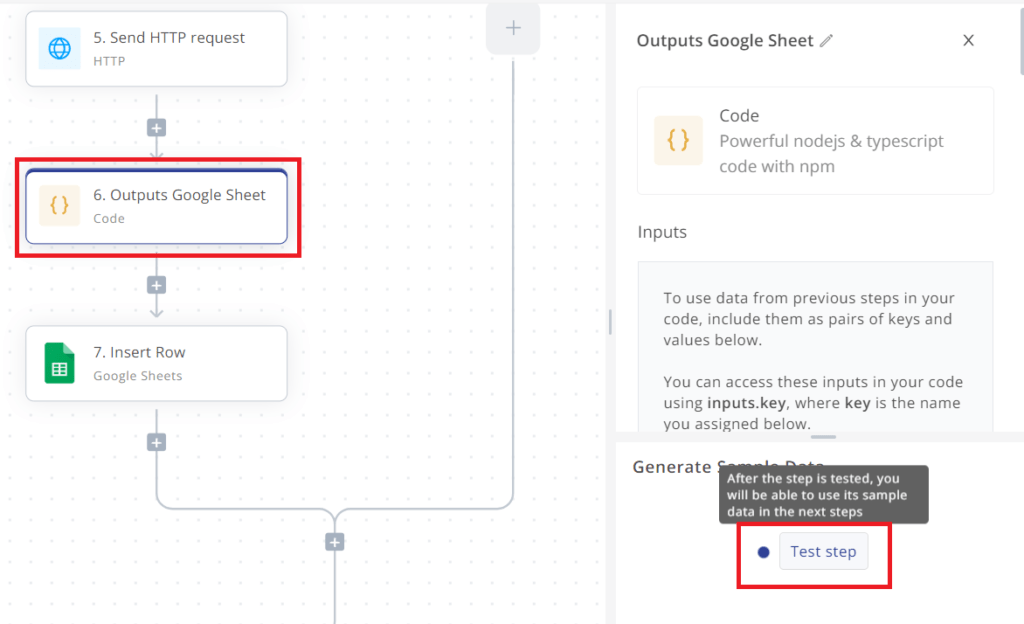
If this is done, it should look like this:
Now, we will connect Google Sheets.
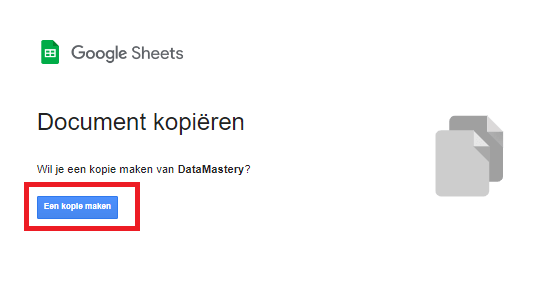
Copy this file in the same way as the Google form. Click on the link and then click on ‘make a copy’.
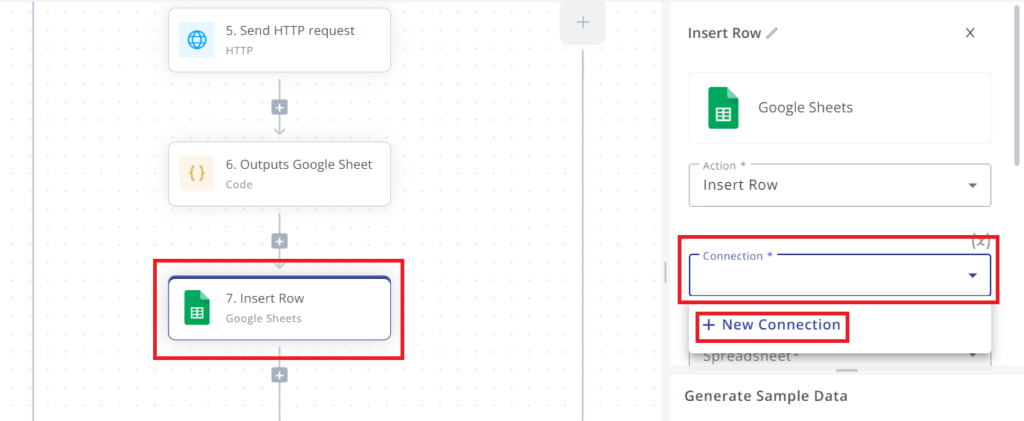
Then go back to the flow, press on STEP 7 Insert row, and connect your Google account in the same way you connected the Google Forms account.
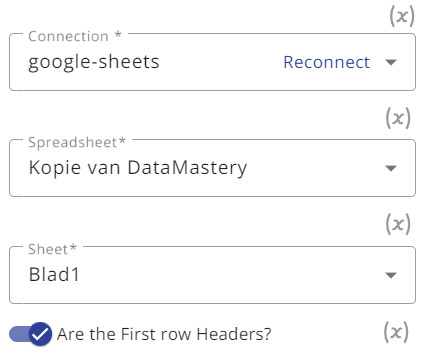
After you have made the connection, press ‘save’ and choose the spreadsheet. As Sheet, choose Sheet 1.
It should then look like this.
Now we will add the values that we want in our Google Sheets. When you scroll down a bit in the top-left window, you can see the input fields:
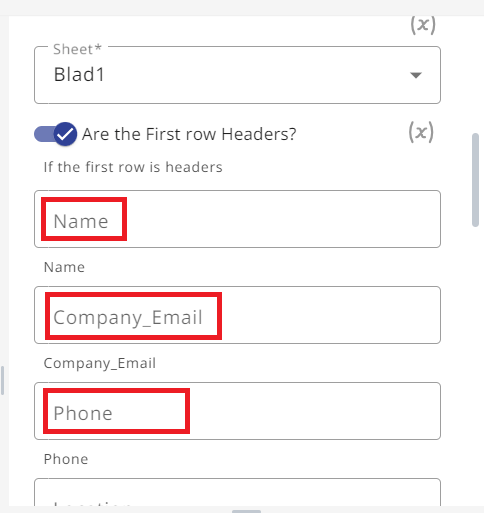
Now you must indicate the correct value for the right field, so for Name, select Name, and for Company_Email, select Company_Email.
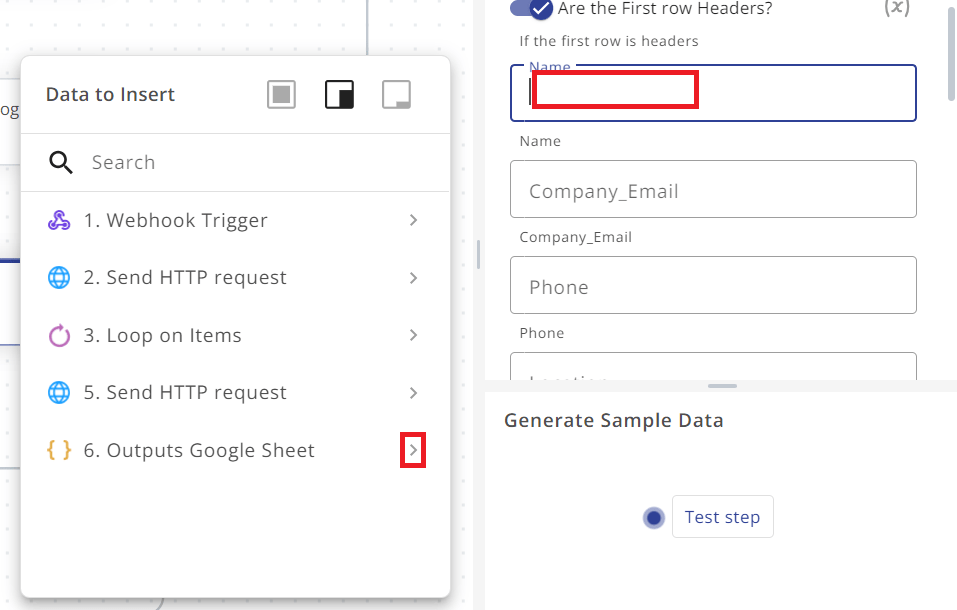
Let’s do one together. When you click on Name, a new window appears on the left, “Data To Insert.” Here, we will look at number 6, Outputs Google Sheet; when you press the small arrow, all the variables will open.
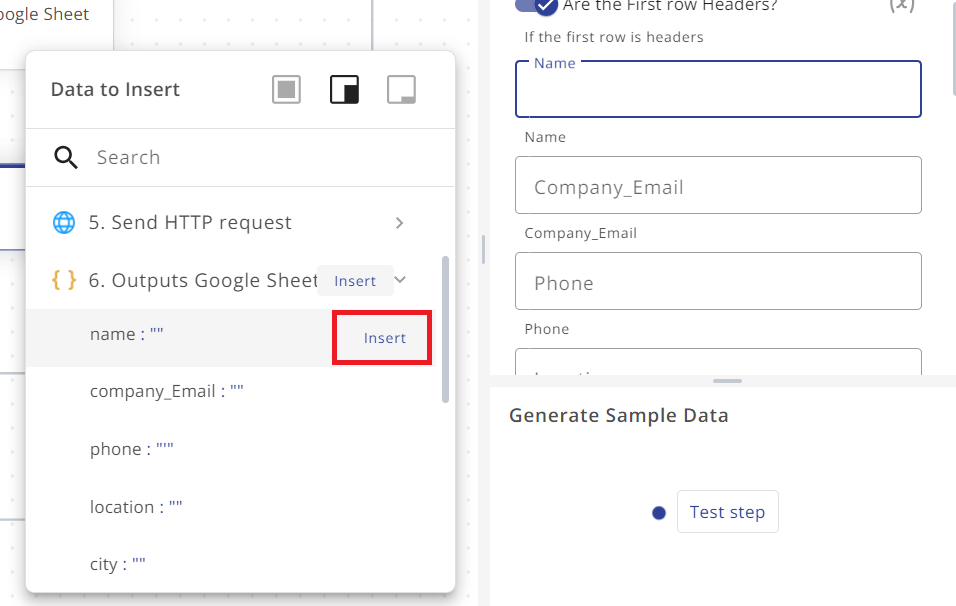
Once you have pressed the arrow, you can now select name Insert for the input Name; do this for all inputs, there are 13 in total.
Name, Company_Email, Phone, Location, City, Industry, Score, Reviews, Website, Facebook, Twitter, Instagram, LinkedIn.
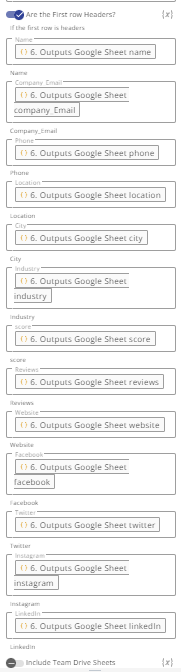
Once you have done this for all of them, your input field should look like this:
Now you also should publish the flow.
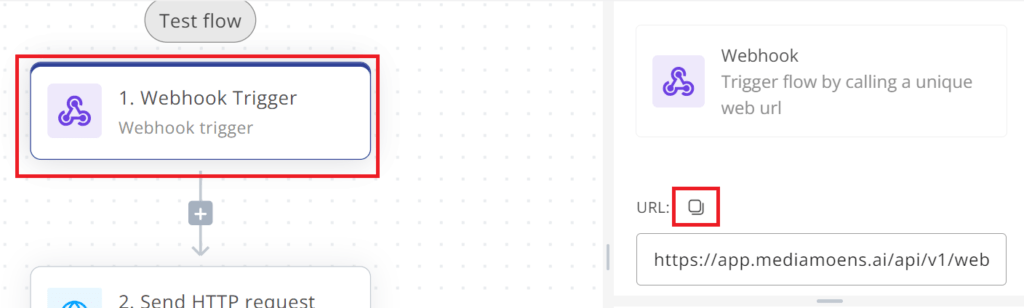
For the very last step, we will connect the webhook with APIFY.
Go to STEP 1 in the flow and copy the webhook URL.
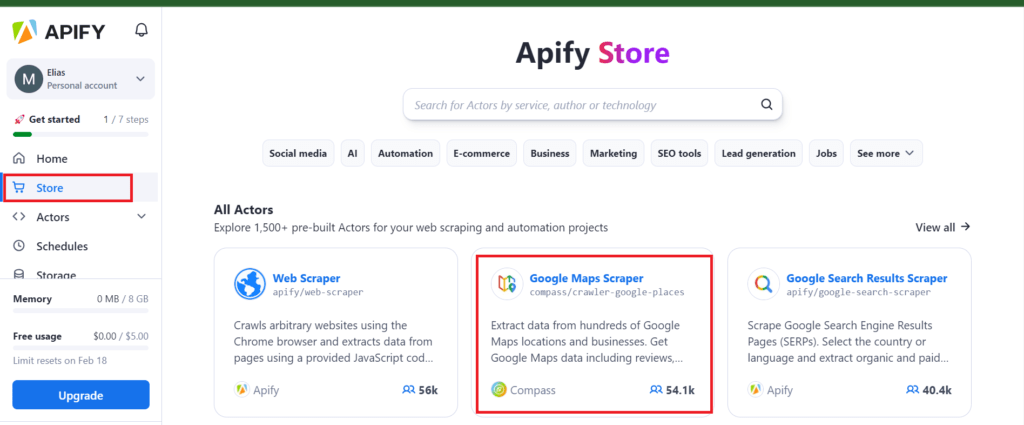
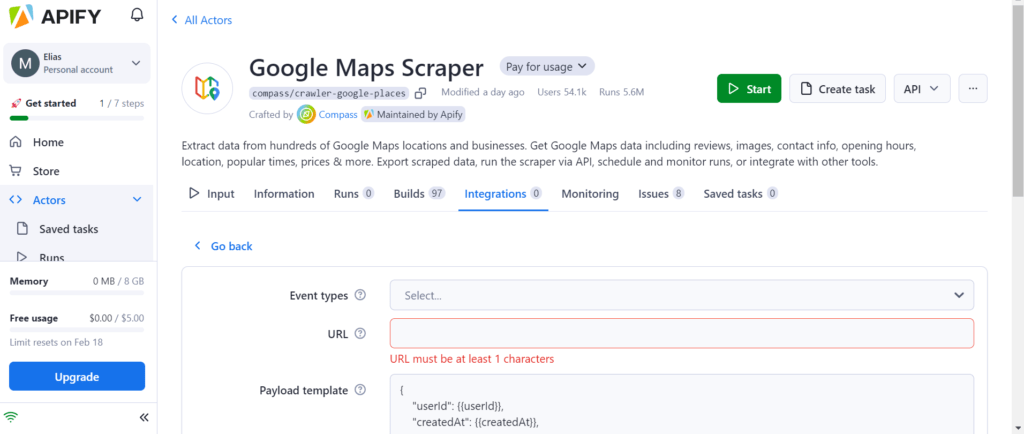
Go to the Apify store via this link: https://console.apify.com/store
Then click on Google Maps Scraper.
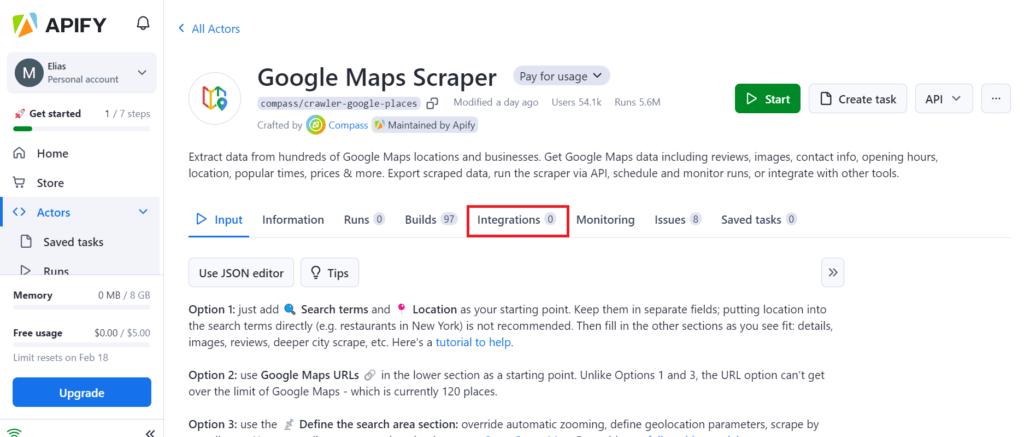
Afterward, click on Integrations.
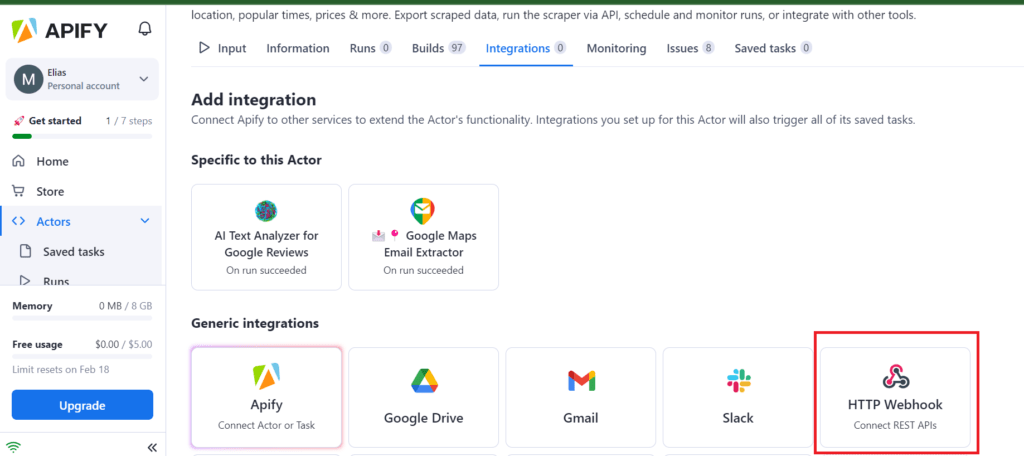
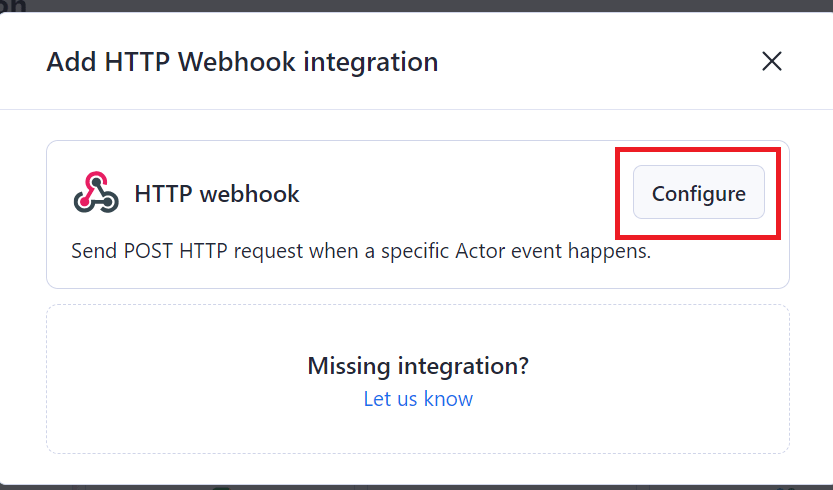
Scroll down a bit and press Webhook.
Press Configure:
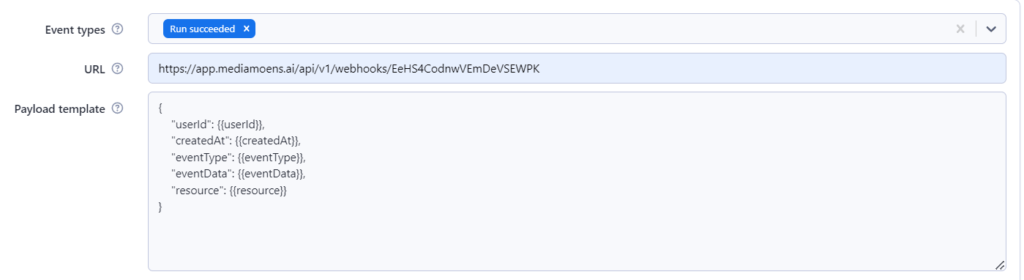
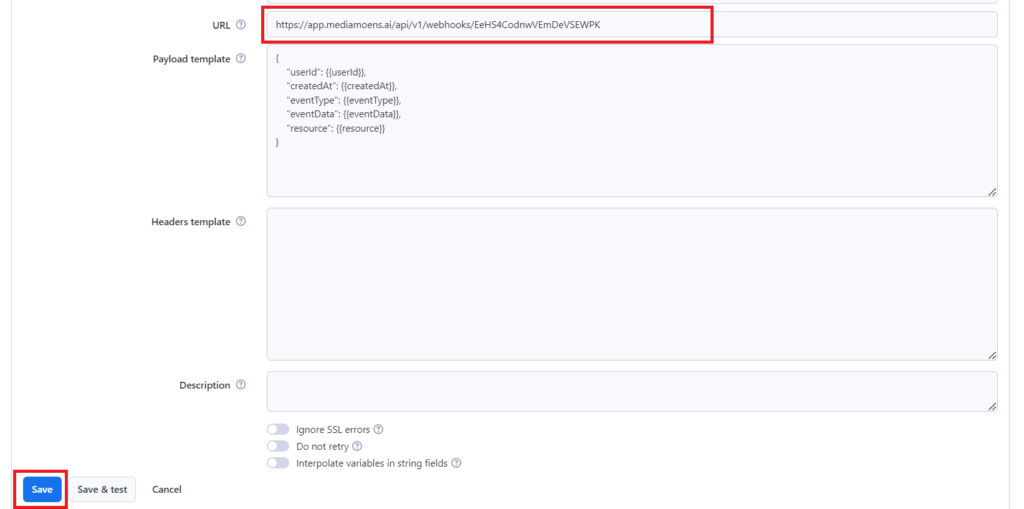
And paste the URL we copied from the webhook.
For Event type select Run succeeded.
Scroll down a bit and now save the page.
Currently, the flow is completely ready and ready for use. Let’s now test the automation you have set up.
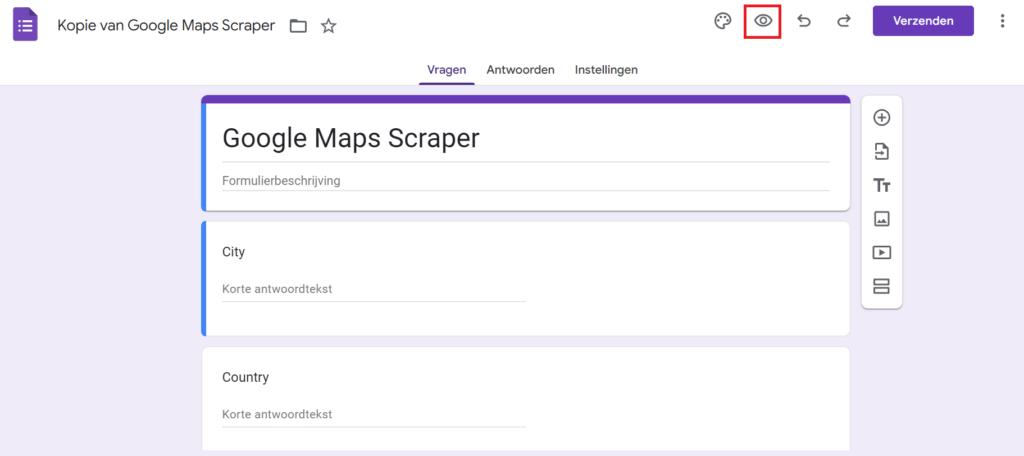
Open two tabs, one with the form and another with Google Sheets. You can open the form by clicking on the eye icon.
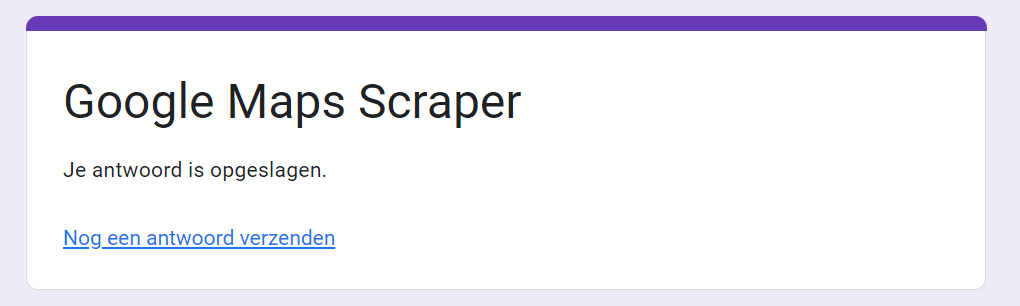
After you have filled in your ideal prospect, press ‘send’. In this example, we will search for marketing agencies in Ghent, Belgium.

Now you have to wait and let the scraper do its work. Usually, it takes around 15-20 minutes to scrape the leads, so take a break and check the spreadsheet later.
Congratulations! You’ve now set up a powerful tool to streamline your lead generation process. This Google Maps scraper will save you time and effort, allowing you to focus on growing your business. Keep experimenting with different search criteria to maximize your results. Happy scraping!

Need help? Feel free to contact us at [email protected] or use our chat feature to reach out. We will happily assist you with your flow!